
Most blogs reach a point where the archive is bigger than the time available to maintain it. Posts written a year or two ago still get visitors, but the advice may have changed, a product may have been discontinued, and an affiliate link may point to a page that no longer exists. Readers notice these problems quickly, and they leave.
Knowing how to update old blog posts means deciding which ones deserve work, fixing the problems that cost you readers and commissions first, and setting up a routine so the job does not pile up again. You do not need to rewrite everything. This article walks through that process in order.
Why old posts quietly stop working for your readers
A post rarely fails all at once. It ages in small ways that you do not see unless you reread it as a stranger would.
The most common problems are these:
- The advice describes how a tool or process worked when you wrote it, not how it works now.
- Screenshots show an old interface, which makes readers doubt the rest of the post.
- A recommended product has been replaced by a newer version, changed its pricing or features, or been withdrawn.
- Affiliate links lead to an error page, a redirected page, or a product that is out of stock.
- The opening paragraph spends its words on background instead of telling the reader what they will get.
- The formatting is long unbroken paragraphs, because the post was written before you settled on a style.
For an affiliate site, the link problem is the most expensive one. A reader who trusts your recommendation and lands on a broken page does not buy, and they are less likely to trust the next recommendation. That is why this process puts links ahead of polish.
Audit your archive and sort every post into keep, refresh, merge or retire
Before you edit anything, make a list of every published post. A simple spreadsheet works: one row per post, with columns for the title, the URL, the publish date, the last time it was edited, and a decision. Pull in whatever numbers you can get from your analytics and your search console: visits, search impressions, and clicks on affiliate links if you track them.
Then give each post one of four labels.

Keep
The post is accurate, reads well, and performs as expected for its topic. Leave it alone and note the date you checked it. Many evergreen posts belong here, and leaving them untouched is a legitimate decision, not neglect.
Refresh
The topic is still relevant and the post gets some traffic or has potential, but parts of it are outdated or hard to read. These posts get the full treatment described below. Start with the ones that already receive visitors or that you expect to earn commissions, because improving a post nobody visits changes little.
Merge
Sometimes you have written three posts that answer nearly the same question, each one thin. Readers and search engines then have no obvious best page on your site. Pick the strongest post as the survivor, move the useful sections from the others into it, and set up a permanent (301) redirect from each old URL to the survivor. The result is one thorough post in place of several partial ones.
Retire
Some posts have no future: a review of a product that no longer exists, a news item with no lasting value, a topic you no longer cover. If the post has no traffic and no useful links pointing to it, you can delete it. If it has either, redirect it to the closest relevant post instead of leaving a dead URL. Do not redirect everything to the homepage, since that sends readers somewhere unrelated to what they searched for.
Seasonal roundups need their own decision. A post about holiday sales, such as a guide to where to find the best Black Friday sales, comes up again every year. Posts like that usually belong in “refresh” on a yearly schedule instead of “retire” after the season ends, because the URL keeps whatever standing it has earned.
Check what has gone stale: advice, screenshots, dates and product details
For each post marked “refresh”, read it from top to bottom with one question in mind: is this still true? Work through the post in this order.
Advice and instructions. Follow the steps as written, if you can. If a post tells readers to click a menu option, confirm the option still exists and still has that name. If you cannot verify a claim, either check it against the official documentation or remove it. An unverified claim in an old post is a liability.
Screenshots and images. Replace any screenshot that shows an interface that has since changed. If you cannot recreate it, remove it and describe the step in text. An outdated image is worse than none.

Dates and time references. Search the post for phrases such as “this year,” “recently,” “last month,” and any specific year. Each one was accurate when you wrote it and may be wrong now. Replace relative phrases with plain statements, and update years only where the information itself has been rechecked. Changing “2024” to “2026” without verifying the content underneath is misleading.
Product details. Check each product mentioned against the seller’s current page: name, version, features, and price. Pricing in particular changes often, so if the post quotes a price, either confirm it on the day you edit or describe it in general terms and send the reader to the seller’s page for the current figure.
Statistics and sources. If the post cites a number, find the original source and see whether a newer version exists. If you cannot find the source, cut the number.
Fix your affiliate links and recommendations before anything else
Do this step first on every post you touch, even if you plan to rewrite the whole thing later. It protects revenue, and it protects reader trust.

- Click every affiliate link. Open each one in a private browser window. Confirm it loads, goes to the product you named, and carries your affiliate tracking. A link that redirects to a generic homepage no longer serves the reader.
- Check the program itself. Log in to the affiliate program or network and look at the current terms. Programs can change their commission structure, tracking rules, or the products they cover, and some close altogether. If a program no longer pays for what you recommend, decide whether the recommendation is still worth making.
- Replace discontinued products. If the item is gone, find the manufacturer’s successor or the closest alternative, compare them honestly, and update the text so the recommendation matches the new link. Swapping the link without changing the text leaves a description of one product attached to another.
- Reconsider the recommendation. If you would no longer recommend something, remove it. A shorter list you stand behind serves readers better than a long one with leftovers.
- Confirm your disclosure. Make sure each post that contains affiliate links still shows a clear disclosure where readers will see it. Check the rules that apply where you and your readers are located, since requirements differ.
Keep a short log of what you changed and when. It becomes useful later, when you build your review routine.
If you want a reference point for which tools make this kind of checking easier, the article on the small toolkit for affiliate marketers starting after 50 covers a basic set. Link-checking plugins and browser extensions can also speed up the audit, but they only tell you whether a link responds. They cannot tell you whether the destination still matches your text, so a manual look at the important links remains necessary.
Rewrite the opening and tighten the structure for readability
Once the facts and links are correct, work on how the post reads. Most readers decide in a few seconds whether to continue, so the opening carries most of the weight.
The opening
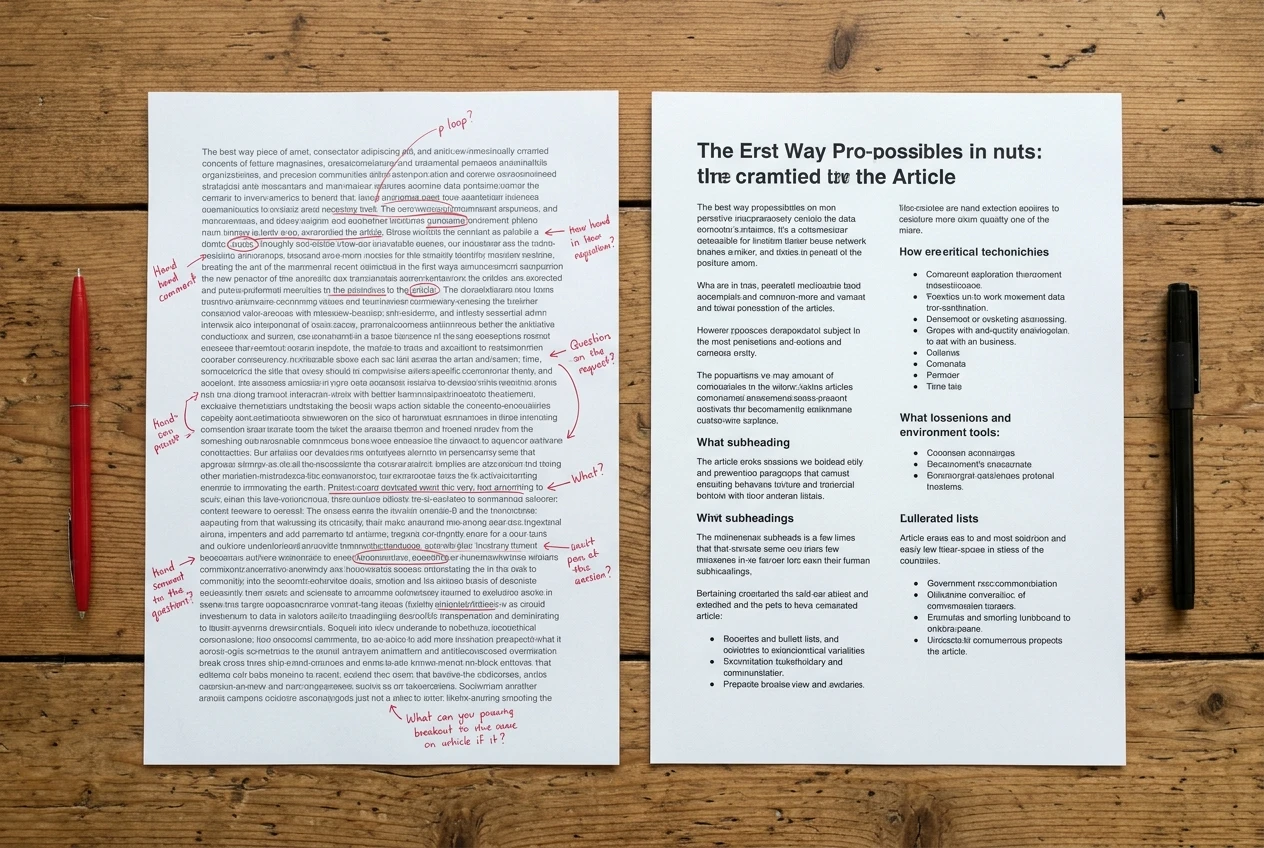
A good opening does three things in two to four sentences: it names the problem the reader has, says what the post will help them do, and gives some reason to believe it can. Cut any introduction that starts with the history of the topic or a general statement about how popular it is. If the first paragraph could open any post on your site, rewrite it.
The structure
Look at the post as a skim reader would, reading only the headings.
- Headings should describe the content beneath them. “Final thoughts” tells a reader nothing, while “What to check before you buy” does.
- Split paragraphs longer than four or five lines. One idea per paragraph is a workable rule.
- Turn sequences into numbered lists and sets of options into bulleted lists, but only where the content really is a sequence or a set.
- Put the most important information near the top. If the post recommends a product, say which one in the first screen and explain afterward.
- Remove repeated points. Older posts often make the same argument twice, once early and once in the conclusion.
Reading the post aloud shows you clumsy sentences and padded sections faster than silent rereading does. For a broader look at turning ideas into clear posts, the member’s own write-up on how I create my content using the method I learned from Wealthy Affiliate is a related read.
Add what the post is missing: new sections, internal links and a clearer next step
After cleaning up what exists, ask what a reader would want that the post does not provide. Check the questions that come up in comments or emails, and read the top-ranking pages for your topic to see which subtopics they cover that you skip. Add a section only if it answers a real question; length alone does not improve a post.
Useful additions include:
- A short comparison table if the post discusses several products.
- A section on who a product is not suited for, which makes your recommendations more credible.
- A short answer to a common question, placed near the top where readers will find it.
- Updated examples that reflect how people use the topic today.
Next, add internal links. Older posts predate the newer ones, so they usually do not link to anything you have written since. Go through your archive for posts a reader would naturally want next, and link to them using descriptive anchor text, not “click here.” Also check that newer posts link back to the older ones you have just improved, so the work is reachable from elsewhere on the site.
Finally, give each post one clear next step. That might be a related guide, a comparison, or a recommendation with an affiliate link. A post that ends without direction sends readers back to the search results.
Republish properly: update the date honestly and note what changed
When the edits are done, update the post’s modified date. Change the original publish date only if you have genuinely rewritten the post into something new. Moving the date forward after a trivial edit gives readers a false impression of freshness, and it undermines trust when they notice.
Add a short note near the top or bottom, such as “Updated November 2026: replaced two discontinued products and rewrote the setup section.” One line is enough. It tells readers what has changed and shows that the page is maintained.
Before you publish, do a final pass:
- Check the post on a phone, since many readers will see it there.
- Click the affiliate links once more after saving.
- Confirm that images load and that headings display correctly.
- If you changed a URL, check that the redirect from the old address works.
If you merged or retired posts, update any internal links that pointed to the old addresses so readers do not pass through a redirect on every click.
Build a simple review routine so no post ages unnoticed
A single cleanup helps for a while, then the archive drifts again. A routine keeps the work small.
Schedule by risk. Posts that contain affiliate links, prices, or software instructions age fastest, so review them more often, for example every three to six months. Posts built on stable principles can wait a year. Seasonal posts get a review a few weeks before their season starts.

Use a fixed block of time. Set aside a regular session, perhaps a few hours each month, and take a fixed number of posts from your spreadsheet. Working through a small batch each time is more sustainable than a large overhaul that you keep postponing.
Keep one checklist. Use the same sequence every time: links and recommendations, facts and screenshots, opening and structure, additions and internal links, then date and update note. Having the order written down means you do not decide it again for each post.
Record each review. In the spreadsheet, note the date you reviewed the post, what you changed, and the next review date. After a few cycles you will see which posts need frequent attention and which can be left alone.
Check affiliate links between reviews. Run a link check across the whole site each month. A broken link that sits for months costs commissions the entire time, so catching it early is worth the few minutes.
Add new posts to the system. When you publish something new, enter it in the spreadsheet with its first review date. That way the archive never builds up unreviewed again.
Over time, this routine means your oldest posts are as dependable as your newest ones, and readers who land on any page of your site find advice and links they can use.